The hustle and bustle of the holidays are no joke, amiright? But the time between Christmas and the new year is often calmer, and I like to fill the week with a mix of cleaning and doing fun things.
This year, it was a mix of making new recipes and trying new crafts. Basically working my way through my Pinterest boards.
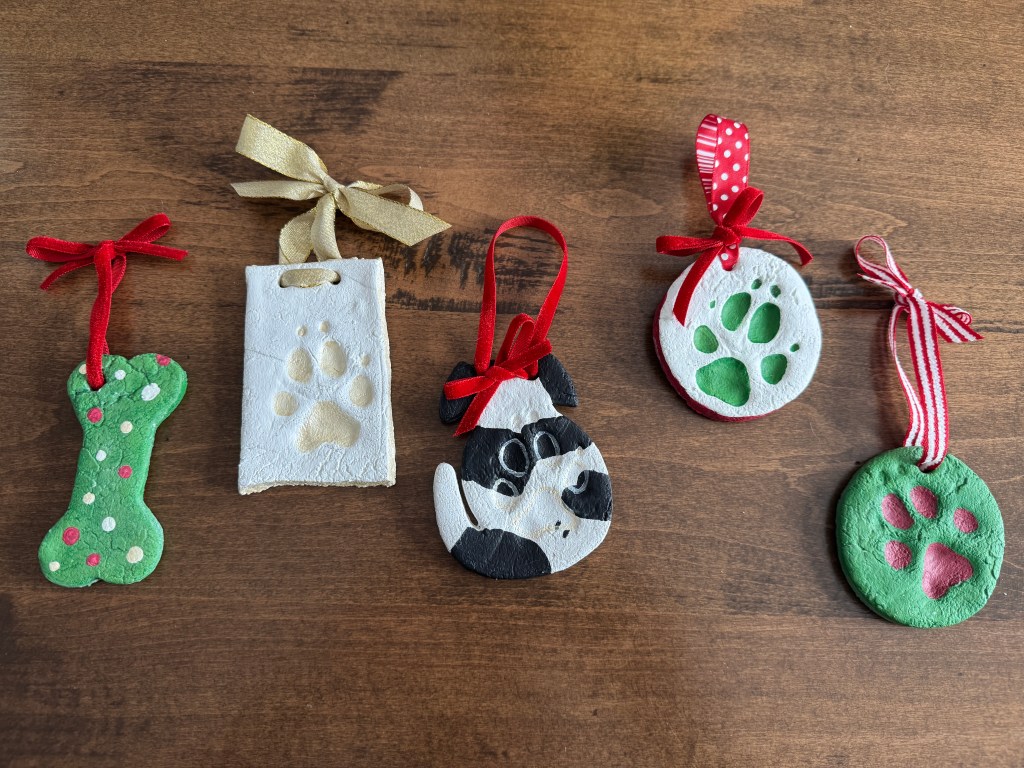
My dog Jillie loves laying under the Christmas tree, so I decided to try making paw print salt dough ornaments with her. She’s 14 years old, and I don’t know how many more Christmases we might have together, so I thought we could have fun making these and they’d be a nice grain of sand memory to hang on the tree each year.
Here’s how I made them:
- Mix 2 cups of all-purpose flour, 1 cup of salt, and 3/4 cup of water in a bowl until combined. If your dough is too dry, add a little more water, a tablespoon at a time.
- Roll the dough out on a floured surface until it’s about 1/4″ thick. Then use cookie cutters to cut our the shapes you want.
- Put the cut dough on a parchment-lined baking sheet. Brush off any excess flour before placing on the sheet.
- If you want to add paw prints (or hand prints), do so next. Make sure to press your dog’s paw into the dough enough for the print to be visible but not too much that you create any holes in the dough. My dog is smaller and didn’t put her weight on the paw making the print, so I had to press a little on her paw to make sure the print was deep enough in the dough.
- Before baking, add a hole(s) to the ornaments so you can add the ribbon to hang the ornament. I used a straw for this. For some of the ornaments, I added 2 holes because I of how I wanted to tie the ribbon.
- Bake the ornaments at 200 degrees for 30 minutes to an hour, depending on the size of your ornaments. They should be hard when they’re done. Something I didn’t do that I think would’ve been helpful would be to flip the ornaments part way through baking so that the underside bakes enough.
When your ornaments are cooled, you can choose to leave them as-is or paint them. I’ve also seen some people use ModPodge to add a photo. Once you’re done decorating them and the paint is dry, use a sealer or ModPodge to seal the ornaments.
This was a fun activity to do with Jillie, and it could be fun to do with kids or as a Girls’ Night activity, too. If you’re looking for something fun and crafty to do this winter, give it a try!
PS – See the cute dog-shaped ornament? My mom got me that cookie cutter for Christmas, and I thought this would be the perfect time to try it. I painted it to look like Jillie, and I think it turned out pretty well.

Leave a comment